Thanks for your feedback.
 Feedback?
Before you begin
-
To set up this feature for workspaces, ensure that workspaces have a professional license assigned. To find out more about the features that are available with workspace licenses, see Features available by license type for Webex Calling.
-
RoomOS devices don't support Priority alert.
| 1 |
Sign in to Control Hub. |
| 2 |
Go to the respective path.
|
| 3 |
Click the Calling tab. |
| 4 |
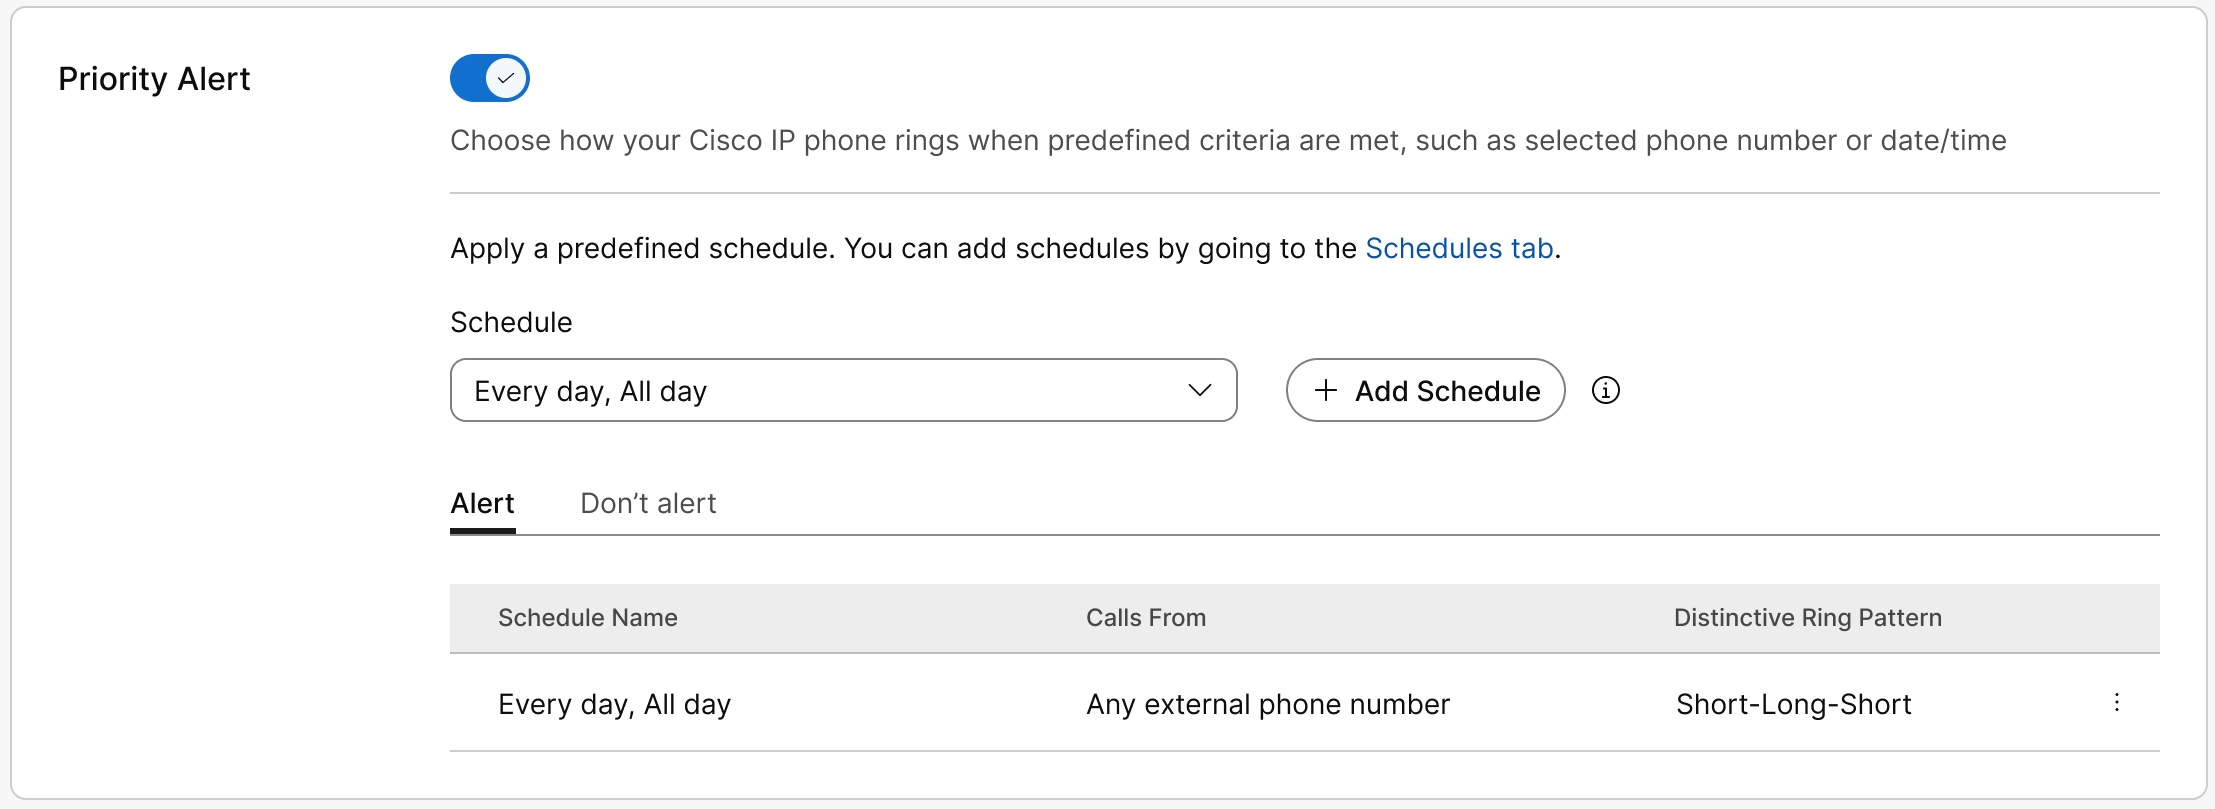
Go to the Call handling section, select Priority Alert, and turn on the toggle. |
| 5 |
Select a predefined schedule from the drop-down list. If you don’t see a schedule that you want to use for this setting, you can create a new schedule from the Schedules page. For more information, see Create Schedules. |
| 6 |
Click Add Schedule to set the following parameters:
|
| 7 |
Click Save to save your priority alert parameters. The schedule appears in the Alert or Don’t alert table. You can edit or delete the schedule from the table as needed.
Don't alert takes precedence over Alert. The system checks the rules from top to bottom and applies the first rule that matches the call. Rules are listed in the table from oldest to newest, so the rule higher in the list has higher priority. To lower a rule’s priority, delete it and add it again. The rule moves to the bottom of the list as the newest rule. |
| 8 |
Click Save. User can also set up priority alerts in User Hub. For more information, see Configure priority alert. Any changes the user makes to these settings appear in both the User Hub and Control Hub. |